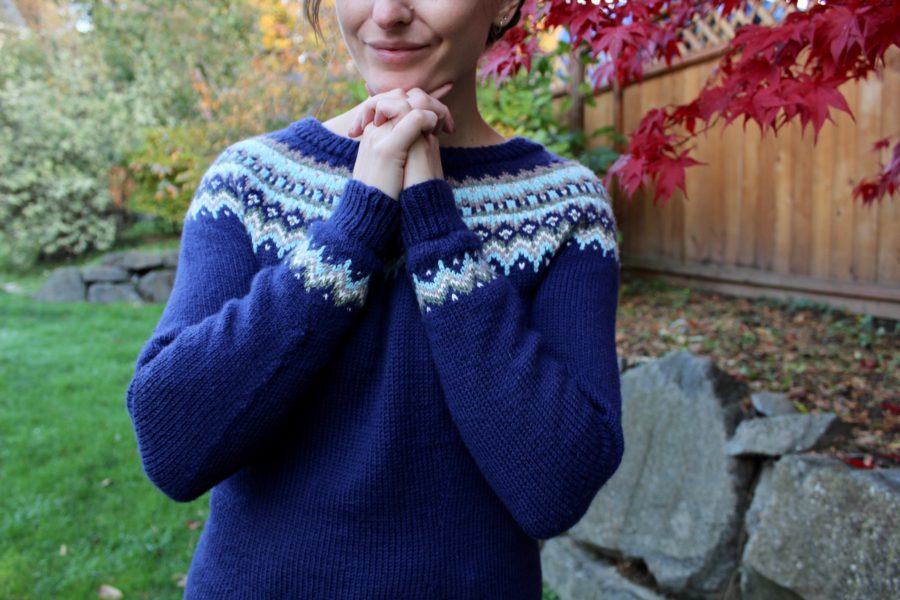
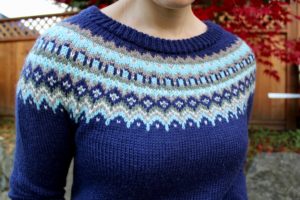
I was a part of the test knit for the Blue Snowdrop Sweater by Ksenia of Life is Cozy. The seamless sweater is knit bottom up and includes a customizable body length, waist shaping, and a comfortable double collar. The highlight of this sweater is of course the lovely fair isle yoke.
As a kid, I always ate all of my least favorite Halloween candy first. I liked to save all the good stuff for last. So maybe that’s why I found the Blue Snowdrop Sweater so satisfying. The first part of this sweater was still candy, just not my favorite kind. I tend to burn out pretty quickly when faced with endless rows of stockinette, but the promise of the delicious colorwork yoke kept me motivated.
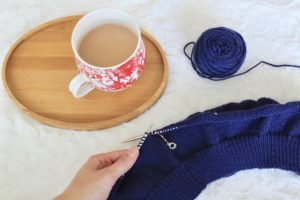
Knitting a bottom up sweater was a new experience for me. At the beginning I had the good cast on vibes flowing and I honestly felt like the body of the sweater was knitting itself. I knit the body as written, although there are instructions for customizing the length from the beginning to the waist shaping. I knit the bottom rib in the recommended US 2 needles, which turned out to be very stretchy and not too tight like I originally feared.
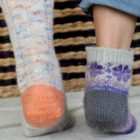
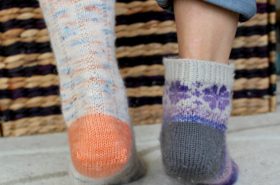
I was a little worried about how the colors of my yoke were going to look, soI thought about making a couple swatches to test them out. Then I realized I was about to cast on the sleeves, which are knit cuff up, so I decided I might as well test the colors on my sleeves and add a pretty detail to my sweater in the process. Maybe a swatch would have been easier, in the end I think I ripped out the beginnings of 4 sleeves before I found the right combination.
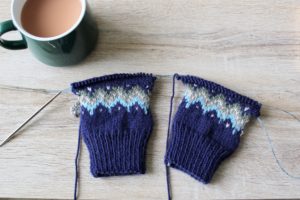
Still some tension issues/puckering in test #2
Here’s what I did to add the color work to my sleeves:
Work the sleeve as written until after the first increase row. That got me to a multiple of six stitches, so I could work the pattern repeats evenly 8 times. I chose to do the first 10 rows of the color chart, therefore instead of 8 rows between my first two increases I had 10. After these 10 rows of color work, I continued the sleeves as written.
Note: I knit the size S. The number of stitches on the sleeves just happened to work out to a multiple of 6 after the first set of increases. It also works for the size M. If I were knitting the XS, L, or XL sizes I would either fudge my increases a little in order to get to a multiple of 6, or I would work the top of the color chart where the pattern repeats every 4 stitches.
The first sleeve cuff I attempted was so tight I could barely get my hand through it. Stranded color work tends to tighten up a lot and if the floats (the yarn that’s not being knitted that runs behind the stitches) aren’t properly managed then the end result is a very tight tension. There are a few things I did in order to keep the tension loose. I went up a needle size, which I know made a big difference because I forgot to switch needles on the second sleeve and didn’t realize until I was almost done, so one cuff is looser than the other. I also held my work inside out in order to force the floats to stretch out. This might be a weird concept, but it is very simple and effective. This video does a good job explaining exactly how it’s done. Finally, in order to manage four strands of yarn, I had to learn how to knit with both hands. I usually knit my two stranded color work holding both yarns in my right hand, but with five strands I was getting a horribly tangled mess trying to do it that way. It was a very slow process, but holding two colors in my left hand kept the yarn neat and untangled, while also helping keep my tension loose.
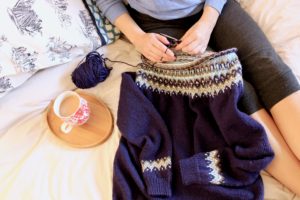
After all that practice on my sleeve cuffs, I was so excited to get to the yoke. This is a great one to try if you’ve never knit with more than 2 colors. I saw one tester wrote up the color chart using her own colors, and I wish I would have done the same because I did have to rip back a couple rows after mixing up which of my colors corresponded to those on the chart.
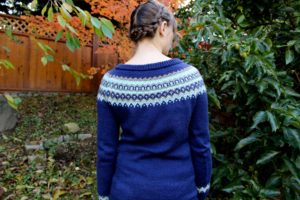
I love the fold over collar on this sweater, it adds some structure and feels very cozy. There is an option to add a row of increases in the neck in order to make the opening wider, which I considered doing because I don’t like things to be tight around my neck. Instead, I decided to knit the neck with a US 4 needle, rather then the recommended US 2. If I were to knit this sweater again, I think I would knit the neck with the smaller needles. The way it is now is just fine, but I wouldn’t mind it slightly tighter.
I used Cloudborn Superwash Merino Twist in Navy for my main color. It was the first time I tried this yarn, and I have mixed feelings about it. It is an affordable, soft yarn that wasn’t bad to work with. According to the manufacturer, the yarn it is a worsted weight. I would say it is on the very lightest side of worsted. In fact, two of the yarns I used as CC were DK weight and they seemed to be the same thickness. However, this pattern was written for a sport or DK weight, so I was right on gauge with the recommended needles. I’m really happy with the weight of the finished sweater. I am disappointed in the amount of pilling, but as long as you don’t mind getting your money’s worth out of your Gleener, this is still a pretty good yarn for the price.
Get the pattern now for free at Life is Cozy!
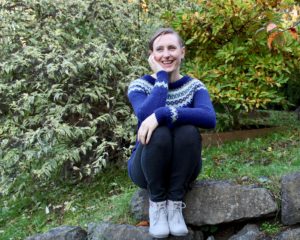
Just overjoyed to be wearing my sweater in the garden. Not posed at all.