
There's something so jolly about a pom-pom topped hat. I like to embellish all my knitted hats with a good, fluffy pom-pom. Beyond that, there are all sorts of crafts utilizing poms, from rugs, gift wrapping, and Christmas decorations. You can find hundreds of tutorials on how to make pom-poms, but which method is going to make the pom of your dreams? Do you really need one of those plastic pom-pom makers?
I tried four popular methods for making pom-poms. I used a worsted weight sparkle yarn called Victorian Christmas Gold from Caron.
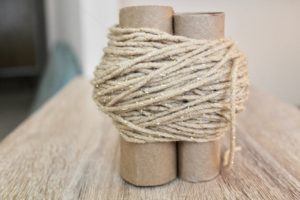 The first time I made a DIY pom-pom, I used the tutorial for the toilet paper roll method by Handimania. This is a straightforward technique that takes minutes and is very easy. There’s no fussing with materials, just take two toilet paper rolls (if you are like me you definitely have those around because I never take my recycling out) and wrap yarn around.
You can get a decent looking pom-pom using this method. However, although the initial set up is quick, I found it was the most time consuming because of the amount of trimming it took to make a well formed ball.

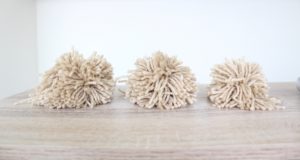
Pre-haircut toilet paper poms
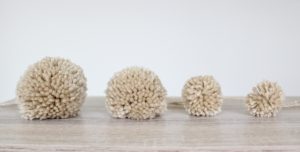
Using this method also took up the most yarn, from left to right I used 30g (approx. 200 wraps), 19g (120 wraps), and 11g (70 wraps). It took more yarn than I expected in order to achieve a dense, fluffy ball with toilet paper rolls.
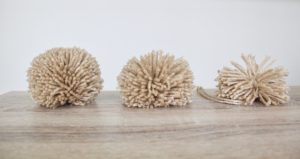
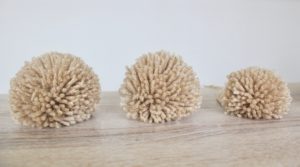
Post haircut
As you can see, less than 100 wraps around the toilet paper rolls didn’t work so well. I trimmed off at least 9 grams of yarn on the largest size, but I think that one turned out the best.
Apparently everyone but me made pom-poms in grade school using the cardboard disk method. 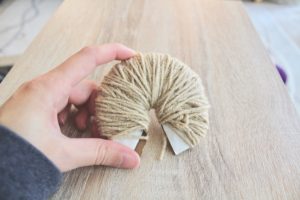
There’s a reason this approach is used in elementary schools. All it takes is some cardboard, scissors, and yarn, and it produces a pom-pom that requires much less trimming (also much less clean up).
The disk method using 18g (300 wraps), 11g(200 wraps), and 9g(100 wraps).
I think if you are looking for a pom-pom with more separation, and not so densely packed, this is the way to go. It makes an even ball with minimal trimming. It also took much less yarn per pom (YPP) compared to the TP method.
Disk method post trim
If you are only going to make the occasional pom-pom, and you aren’t interested in trying to achieve ultra dense, fluffy poofs, I would stick with the disk method. It makes a sizable pom with good loft.
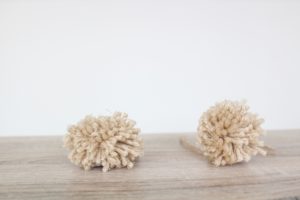
Fork method (L) and XS Pom Pom Maker (R)
For a smaller version without a pom maker, the fork method is my go to. It is easy and makes great little pom-poms, perfect for decorating gifts.
However, if you knit a lot of hats, are interested in making a pom pom rug, or another pom heavy craft, then I would recommend buying a set of pom-pom makers. Most craft stores carry the Clover brand, which come in 7 different sizes.
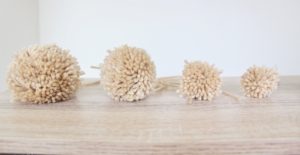
Pre-trim using 18g, 11g, 4g, and 3g
I purchased my set on Amazon, because while Clover’s version aren’t expensive, I was on the fence about these things and I didn’t want to spend more than $10. Having never used the Clover version, I can’t compare the two, but based on photos they seem to work in the same way. The directions on the box aren’t great, but a quick youtube tutorial is all you need to get started.
Looking fresh post-haircut
These little gems make fabulously fluffy pom-poms that require very little trimming. I used the least amount of YPP, yet they had the best form and volume. They also open up new pom possibilities, like making little animal faces! I did attempt to make a dog following the tutorial from Pom Maker, but I won’t share it with you because it is the stuff of nightmares. Must practice more. Pom Maker also makes an adorable Donut Pom Maker, and if I ever cave and order one I will be sure to let you know!